Asset Publisher
Performing field measurements with CartoDruid
One of the most common tasks in the field is to make measurements and taking points, which in usually known as surveying.
CartoDruid has tools to perform these tasks, let's see some practical examples about how to carry them out.
Index
Area and length measuring on an Orthophoto
Both in the office and in the field, you can perform a linear or superficial measurement with CartoDruid using physical references that you see in the orthophoto and confirm in the field.
To do this, click on options and then on "Measure".

This will activate the measurement options; zoom in with the 


This way you'll get and lineal measurement, but it is not exportable, the information will be lost when you cancel the operation.

Mesurement using an editable layer
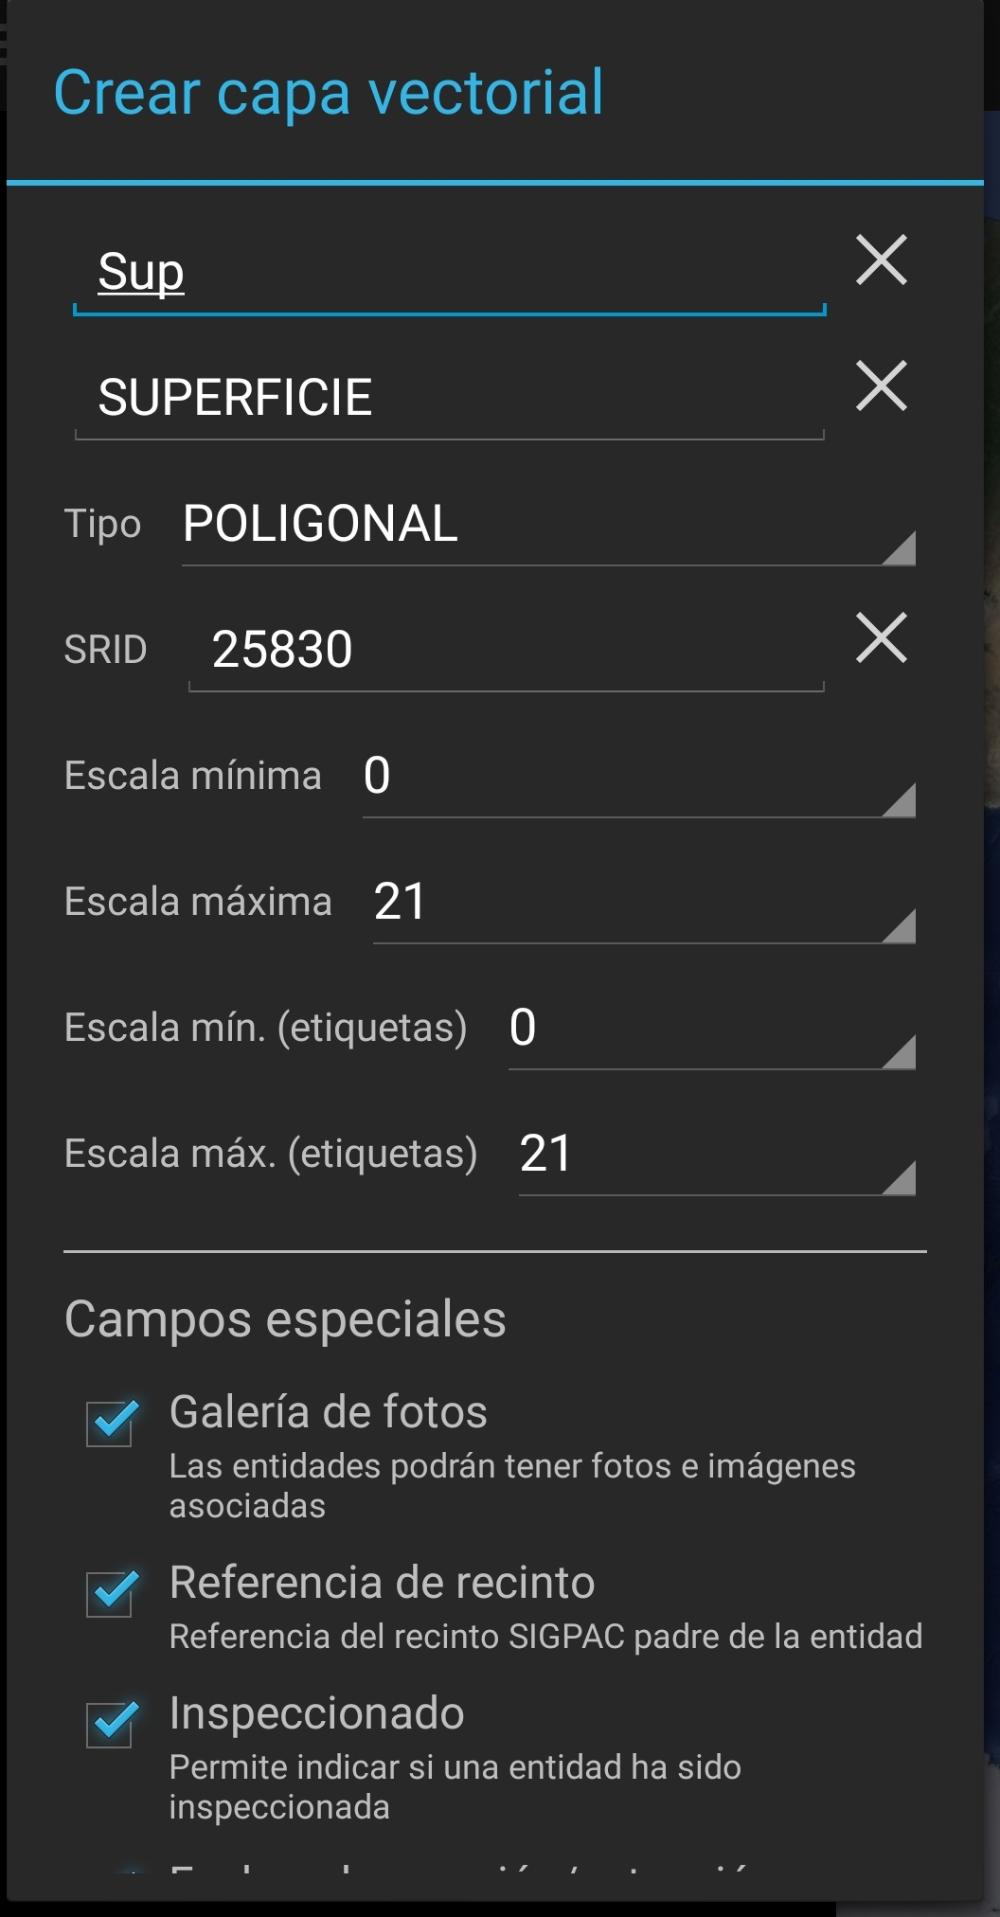
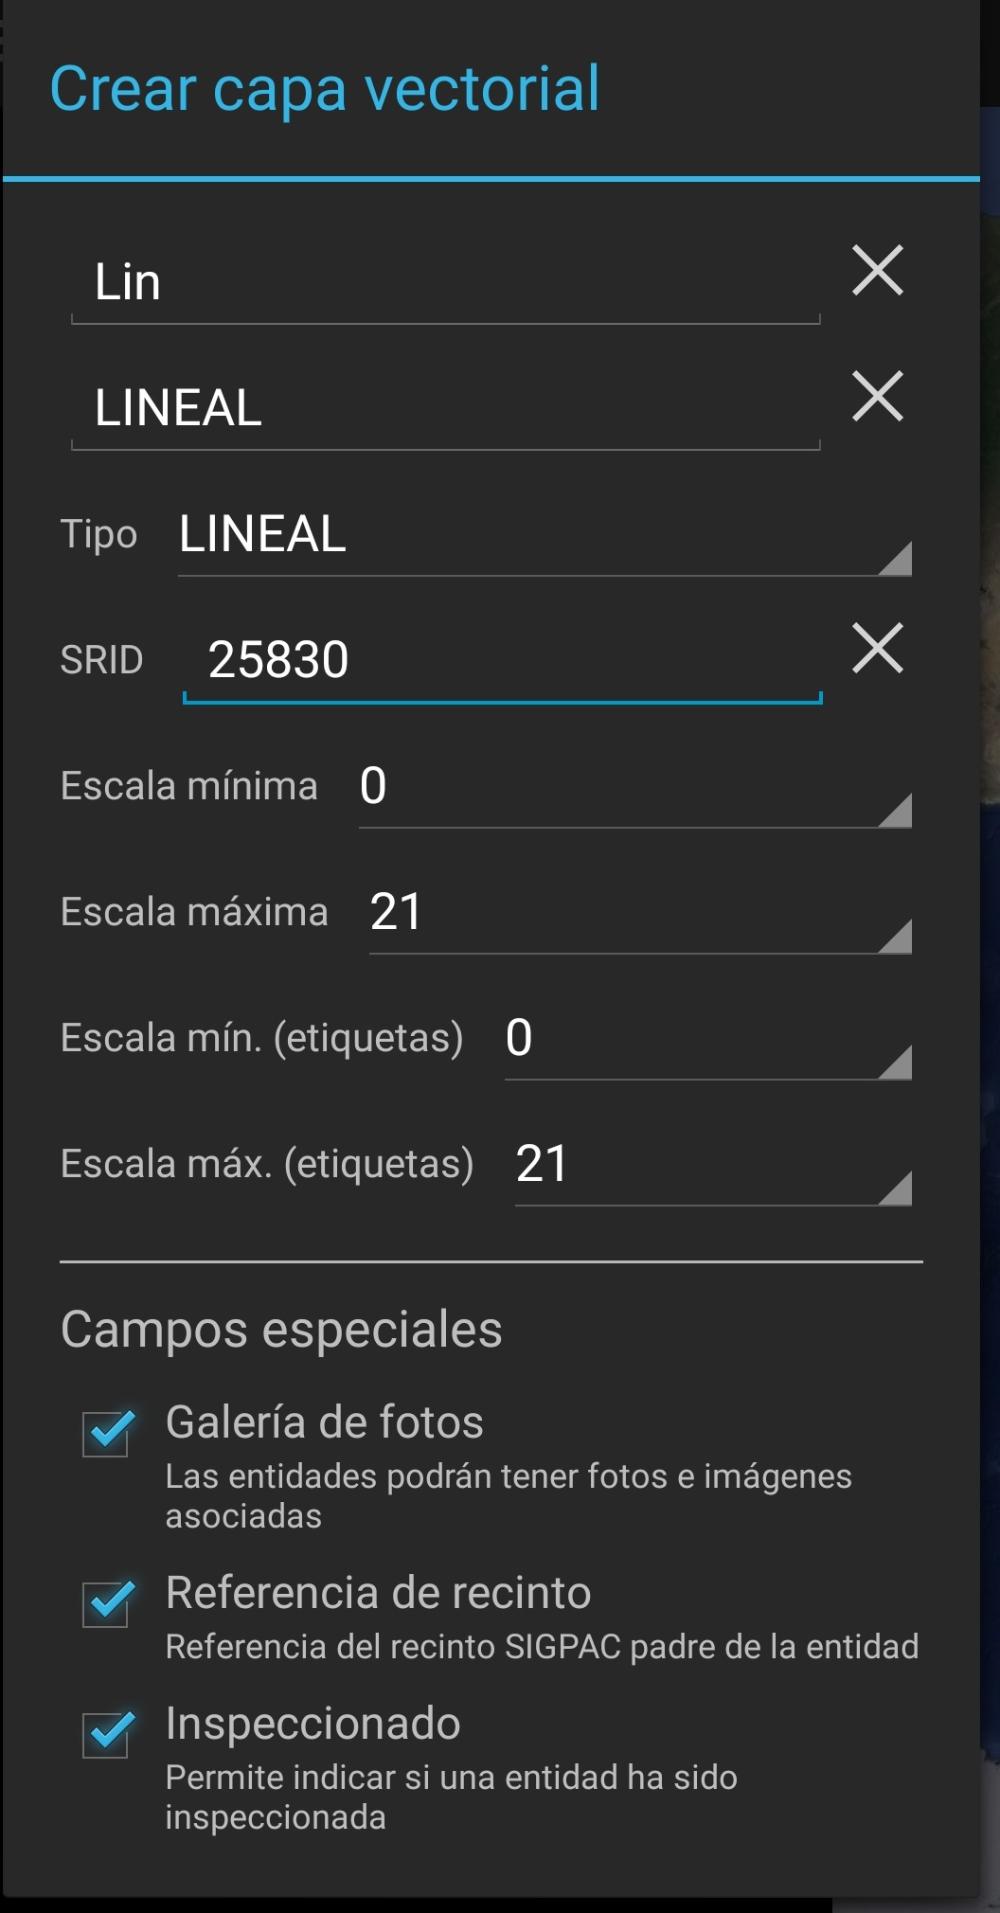
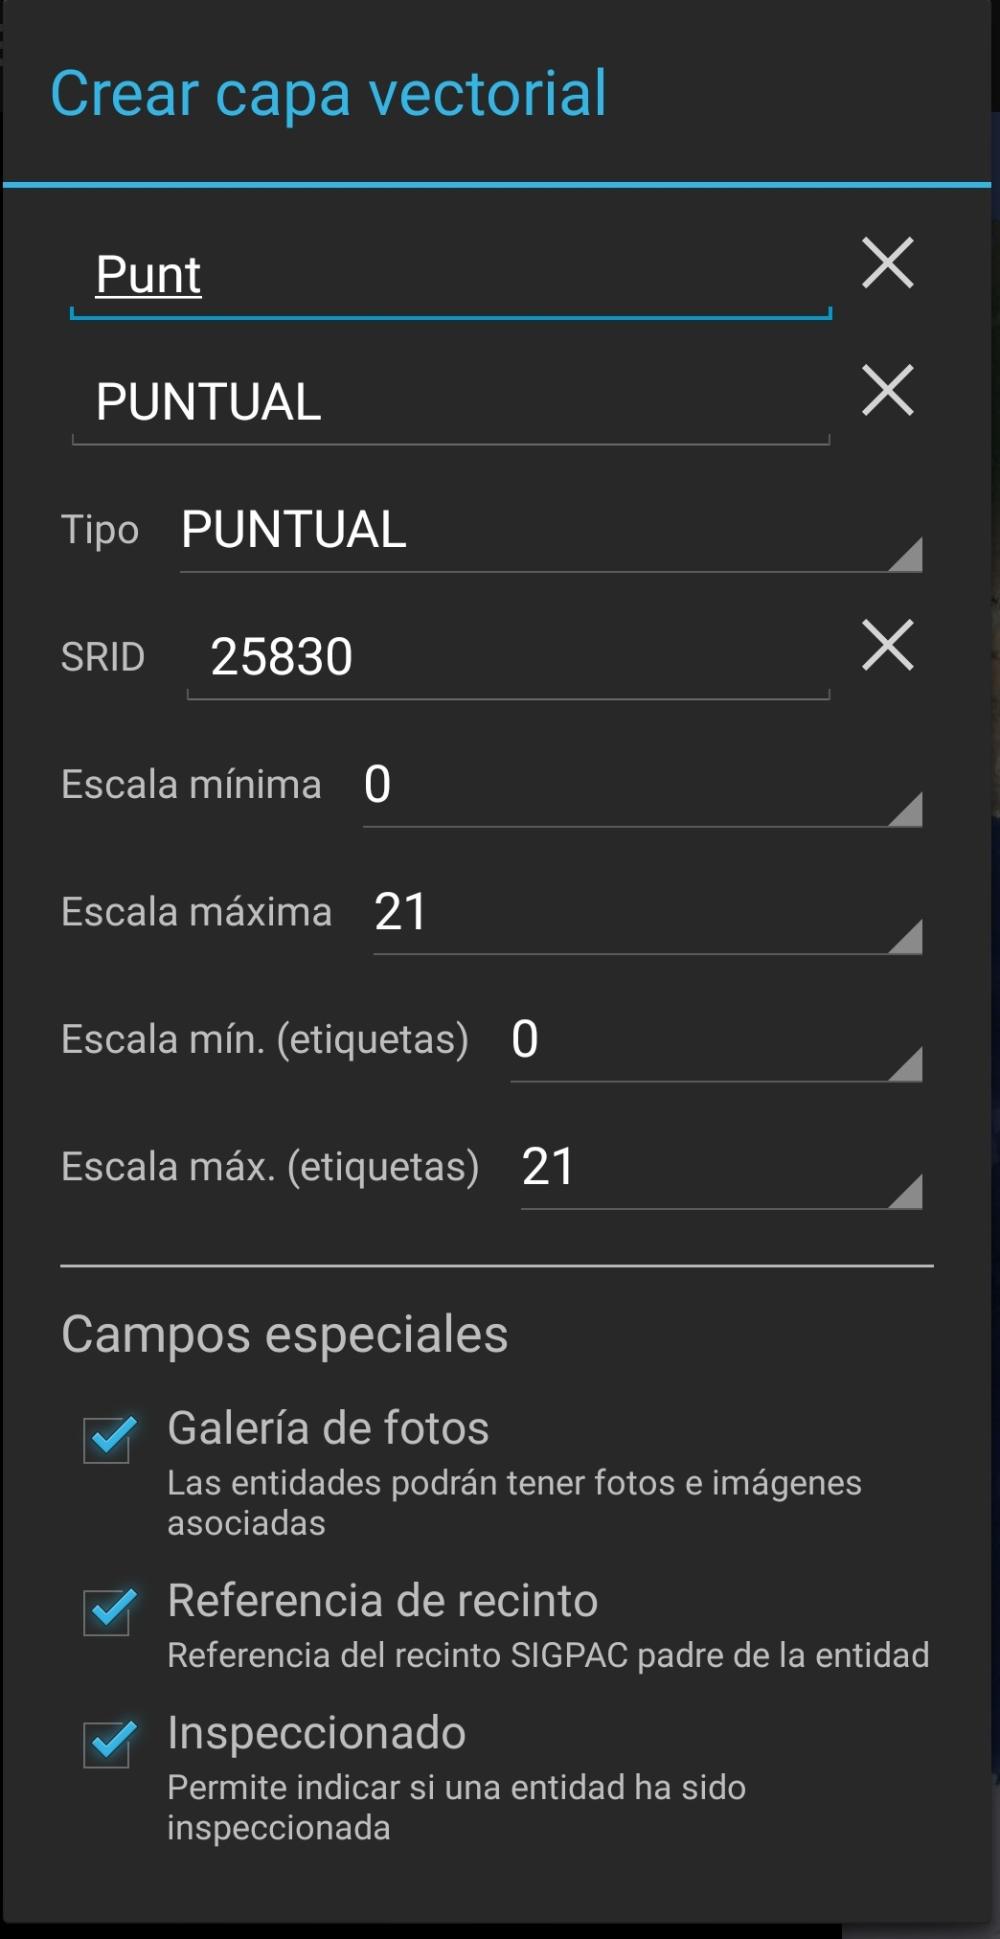
If you want to make measurements and use them later in your work, you need to use an editable layer to keep your field measurements. You will need to create different types of layers depending on the kind of measure you want to make (polygonal for surface, linear for length or point to digitize points), in these layers you will save the geometries that will represent your measurements.
To start you can create a new project (check this post about "How to create your first CartoDruid project in three steps")

Give it a name and select the layers you want to include:

There are three types of layers:


a) Length measurement
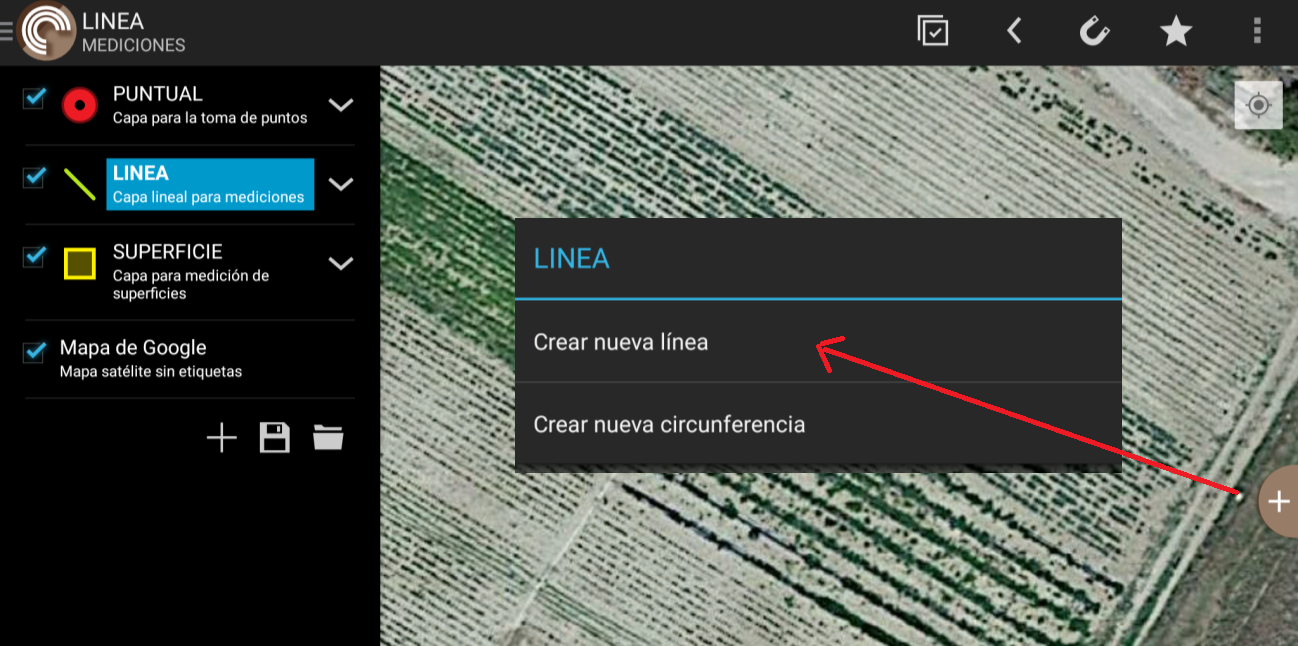
To carry out this type of measurement select LINE as layer type, and press the (+) button on the right side of the screen to start drawing a line.

You can digitize the line using the Orthophoto as base and use real elements, that you observe in the photograph, as references so the measurement will be more accurate.

It is also possible to digitize with using the GPS of your device to make a precise tracing (as seen in the example).

Para ello puedes seguir el artículo "Herramientas GPS en CartoDruid", donde encontrarás información detallada de cómo tomar puntos singulares con el GPS 

The precision of the measuramentes depends on the device characteristics, usually external GPS devices will give you better accuracy that in-device geo-sensors, check this article about "Associate an External GPS to Improve CartoDruid Accuracy" to imprive your measurament accuracy.
IF you choose a lineal element, you will be able to do different operations with it:

You can edit the data of the fields you have added:

You can check its properties, including the length:

Or you can even edit the geometry by pressing 

b) Area measurament
To carry out the measurement select the type of layer, in this case surface (SURFACE), click on the + to start adding points.

You can take visible reference points in the Orthophoto manually 


As we discussed earlier, the accuracy of taking points with the GPS will depend on the quality of the integrated or external GPS device that we are using, in this regard it is interesting to review the article "Associate an External GPS to Improve CartoDruid Accuracy ".

If you select the geometry, you can edit its alphanumeric attributes by clicking on 

You can also access the options 


In addition to all this, if you click on the information button 

c) Point digitalization
You can also take singular points of the terrain, for this select the type of POINT layer, and click on the button 

As for linear and surface elements, it is possible to digitize the points using GPS; for this you can follow the article "GPS tools in CartoDruid", where you can find detailed information on how to take singular points with the GPS 
If you select the geometry, you can edit its alphanumeric attributes by clicking on 


Export of measurement data
Once you've finished the measurement as we've seen previously, it is possible to export your data to use in on the office. It can be done pluging your phone/tablet to your PC and copying the SQLITE database or through the CartoDruid export tool (see article Exporting data from CartoDruid")

You can extract the photos taken and added to each of the geometries, whether it is linear, superficial or punctual. They are stored on the cartodroid/pictures folder and they related to geometries by field code C_UUID.
