Getting Started
Getting started with CartoDruid
Working layer Creation
The working layer to be used in this example, we will create it from CartoDruid itself. For the creation of a layer of this type it is essential to define both the type of geometry of the features and the fields that we are going to collect. The layer once defined is created on the device itself as an sqlite file.
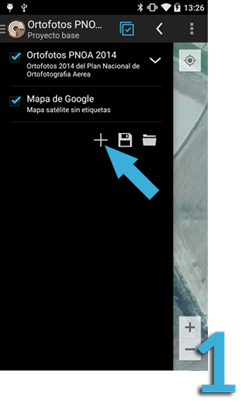
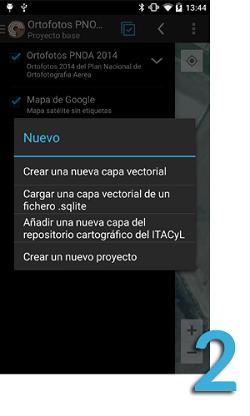
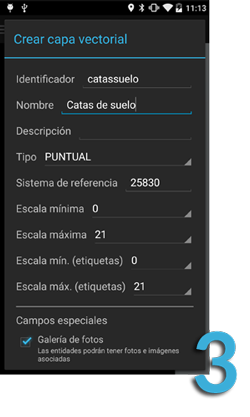
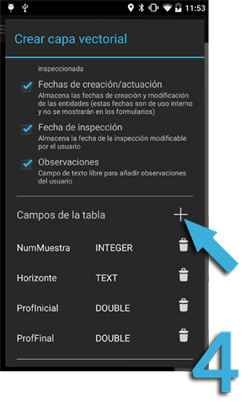
-
- Open the application table of contents (TOC) by clicking on the CartoDruid icon and click on the add layer button that is in the lower left corner of the TOC.
- Select option "Añadir una nueva capa vectorial".
- Define the features of the newly created vectorial layer, name, type of geometry to take (polygon, line or point), visualization scale, simbology, ...
- Define the data fields to take into the layer.
Working layer data collection
-
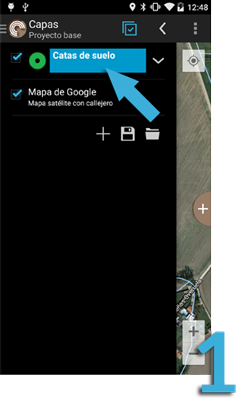
- Select the working layer from the table of contents (TOC).
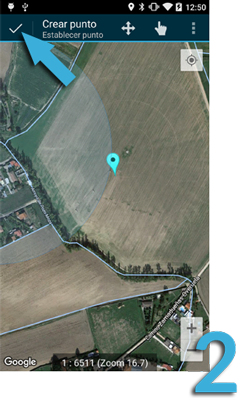
- Long press over the location in which we want to collect the data and save the position.
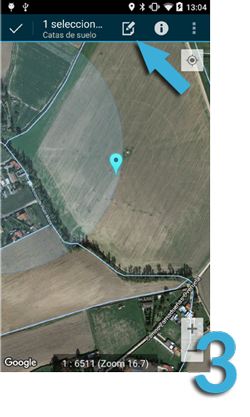
- Select the newly created element (it changes to light blue color) and press over the Edit icon.
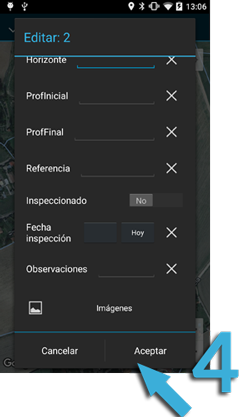
- Fill the form and press "Aceptar" button.
Export data
-
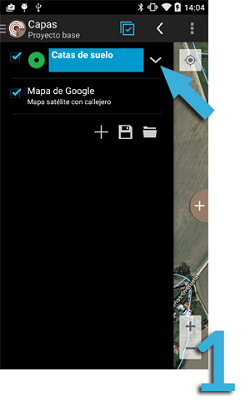
- Select the working layer from the TOC and expand the layer action bar.
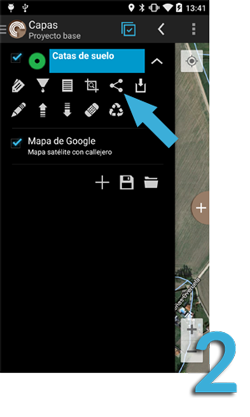
- Press over the share icon.
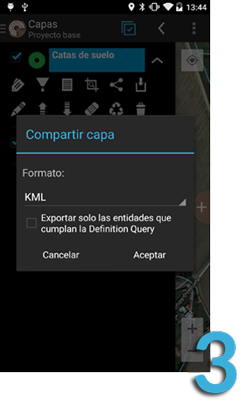
- Select the export format (in our case, KML format)
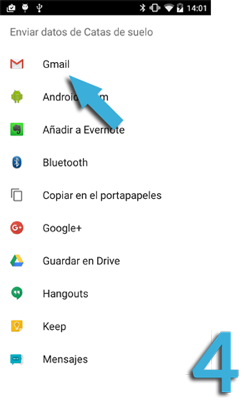
- Select the send format. In our case, via email, but it's possible to save it in the device through a file explorer.