Asset Publisher
Create a new layer from a list of LPIS plots
It is very common when working with spatial data for the geometry of the working elements to correspond to elements from other reference layers. In fieldwork, one of the most commonly used references is that of LPIS, and therefore it is very common for our working geometries to be the actual LPIS parcels.
As a preliminary step, we need to have the vector layer of LPIS parcels loaded. The import process will search for the parcel references provided in the file in the LPIS layer of the device, so it is essential that the LPIS layer for the area to which the parcel references refer to already exists.
In this article, we are going to create a new working layer based on a list of LPIS parcels. The list contains parcel references to load, and these references can be in various formats, as we will see below.
Let's see step by step how we would create the new layer and load the data:
-
The first step is to create a new polygonal working layer (see related content).
-
We need to create a text file that contains the different parcel references we want to load into the layer. The file should contain only one reference per line, and we have two options to define the LPIS parcel reference.
-
Complete parcel reference: In this case, the reference is composed taking into account the following table:
Province: 47 with 2 digits 47
Municipality: 1 with 3 digits 001
Appendage: 0 with 3 digits 000
Zone: 0 with 2 digits 00
Polygon: 2 with 3 digits 002
Parcel: 3 with 5 digits 00003
Plot: 2 with 3 digits 002Plot search code: 470010000000200003002
-
Reference separated by ; In this case, the codes for each part of the reference are separated by ;
Province;Municipality;Annex;Zone;Polygon;Parcel;Plot
Plot reference: 47;1;0;0;2;3;2
-
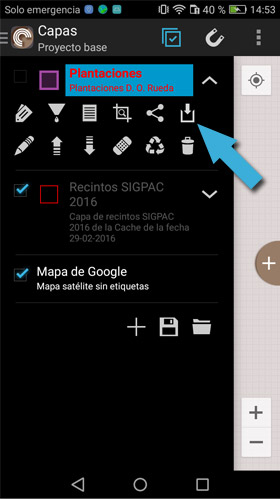
- We select the polygonal layer we have created and click on the import icon.
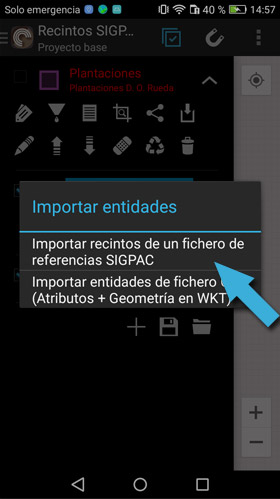
- In the «Import Entities» dialog box.
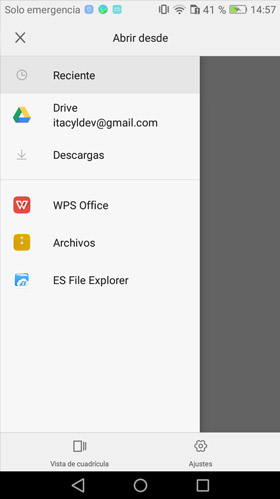
- We select the file that contains the list of plots to load.
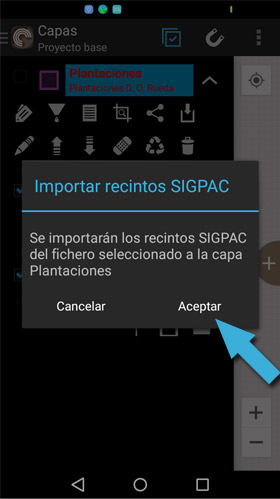
- A text message is displayed indicating that the LPIS plots from the list in the selected layer are going to be loaded. We accept.
- After processing the file, a summary of the loaded plots is displayed.
